
Initial Setup
Installation
Install the latest IdealDoc Salesforce package from Salesforce AppExchange:
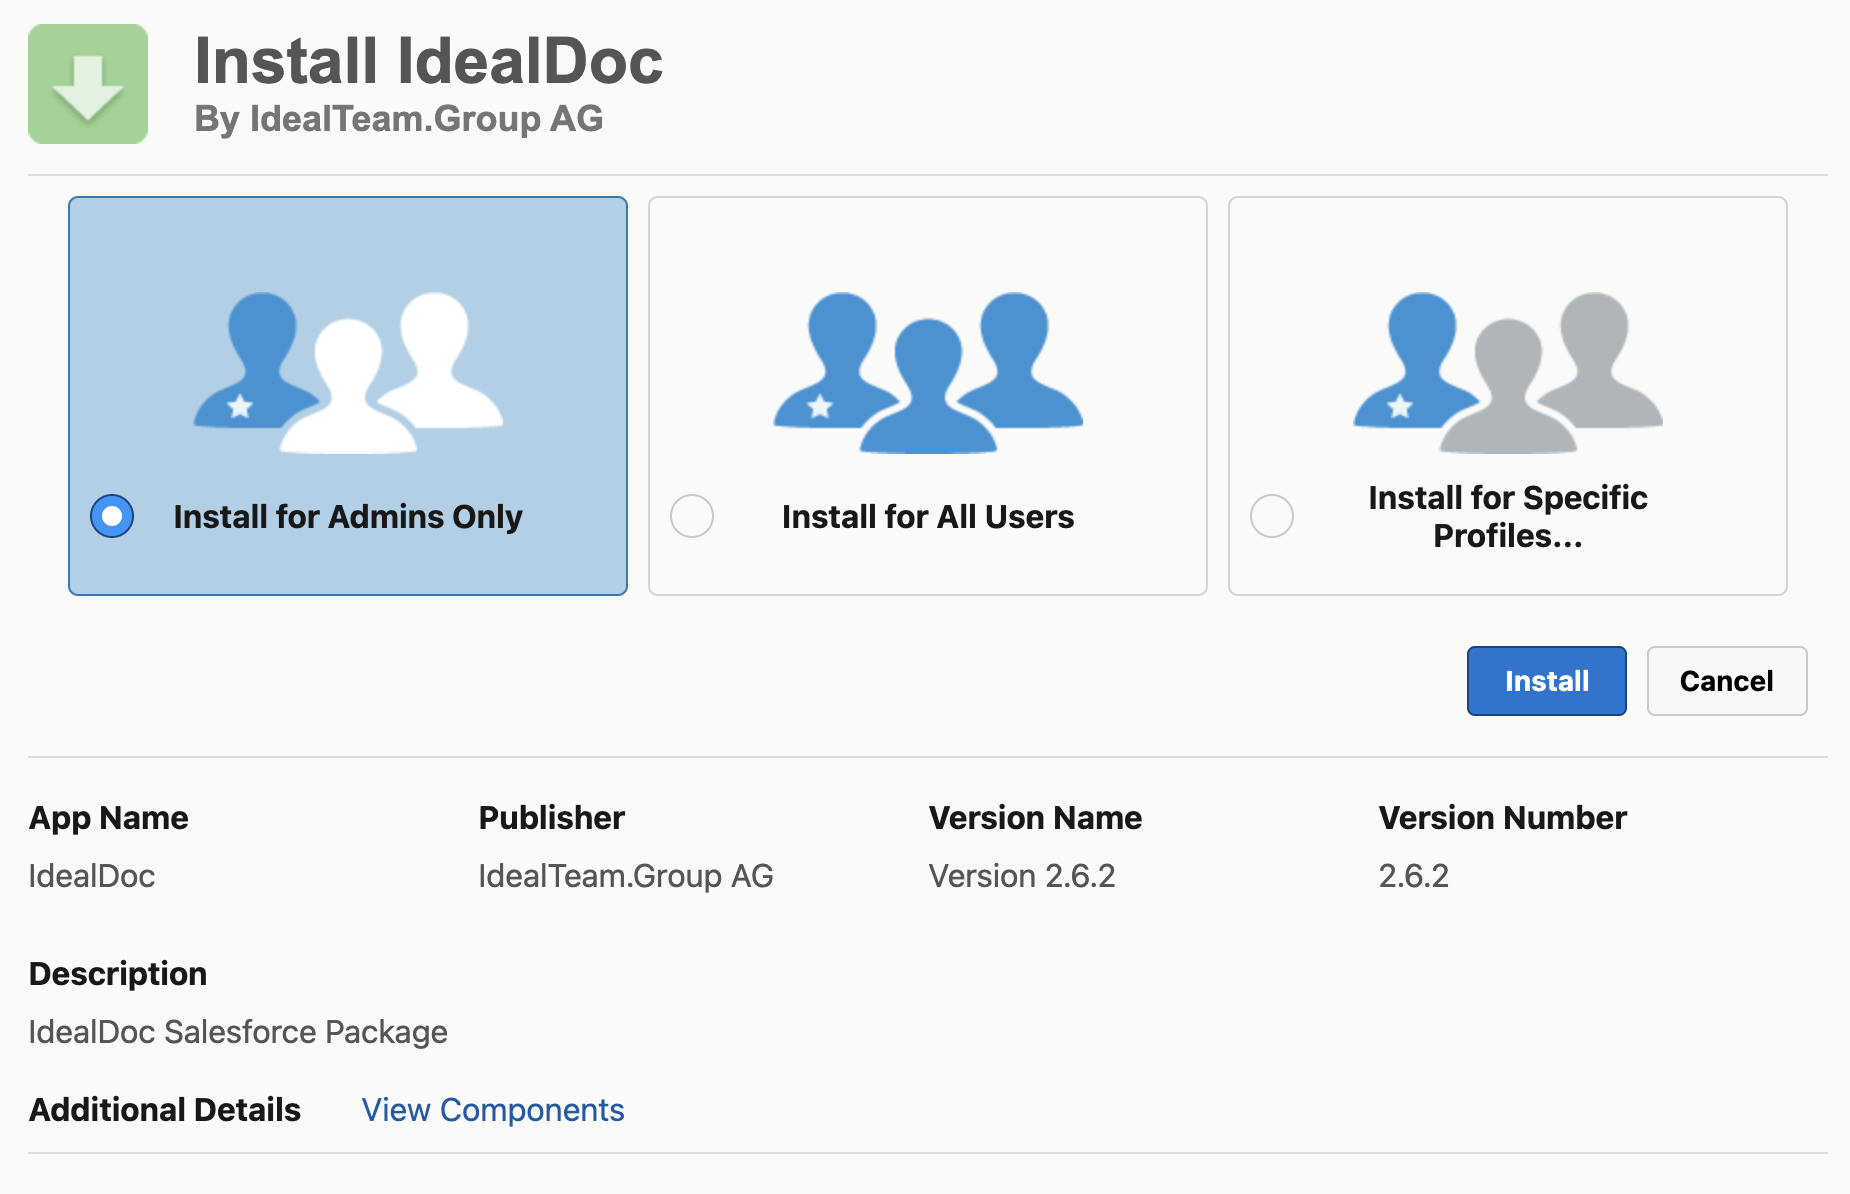
Select “Install for Admins Only”:
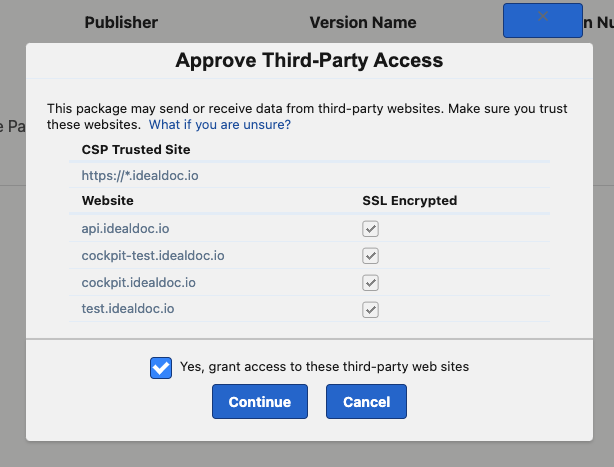
Grant access to the required IdealDoc API endpoints:
Configuration
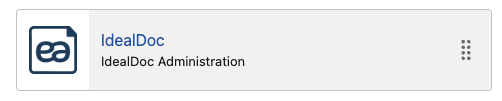
Launch the IdealDoc Administration App from the Salesforce App Launcher:
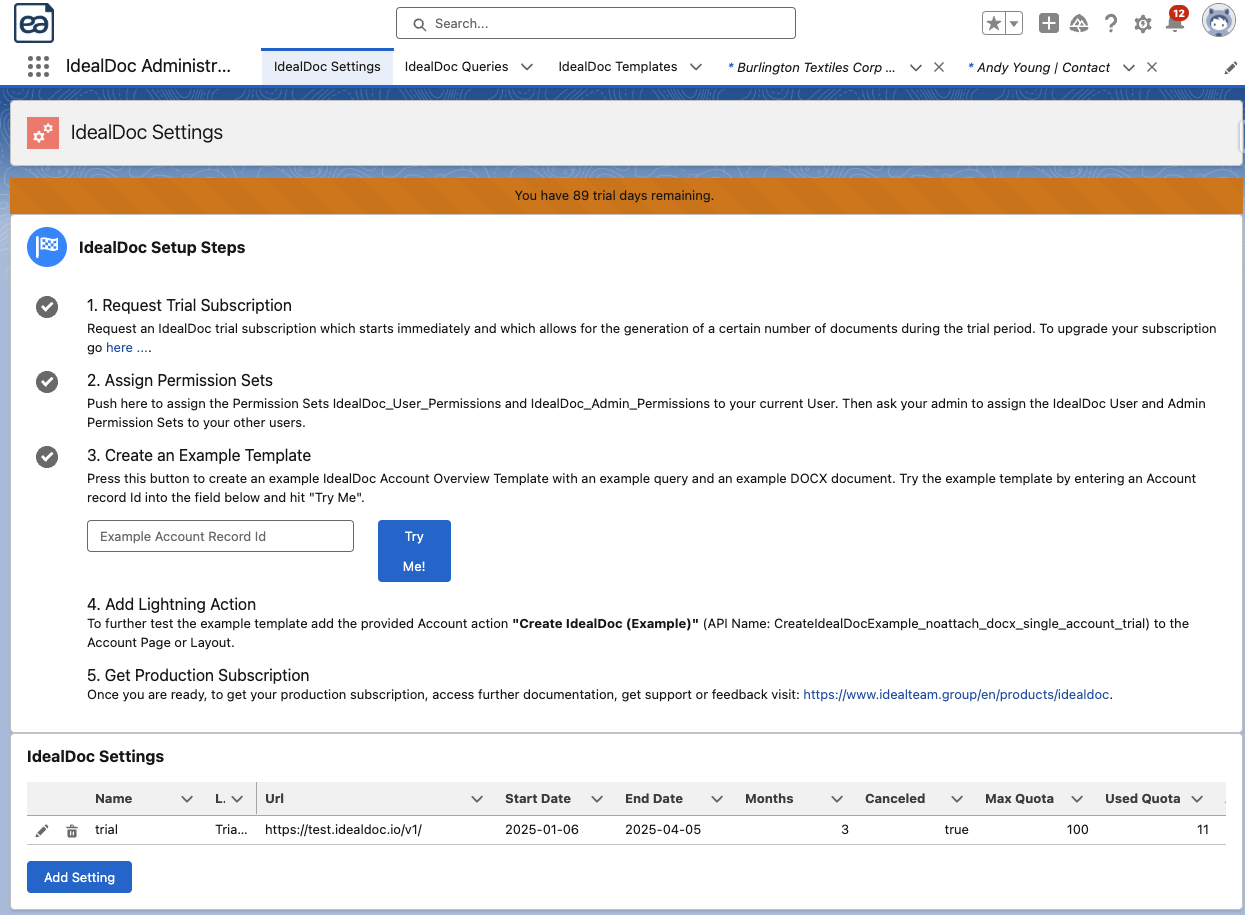
On the IdealDoc Settings tab, follow these setup steps by clicking the corresponding button on the Settings page:
Step | Button | What it does |
|---|---|---|
1 | Request Trial Subscription | Get a trial subscription for your current Salesforce Org. Only one trial per Org is possible. |
2 | Assign Permission Sets | Assigns the permission sets IdealDoc_User_Permissions and IdealDoc_Admin_Permissions to your admin User |
3 | Create Example Template | Creates an example IdealDoc Account Overview Template with an example query and an example DOCX document |
4 | Add Lightning Action | The example Account action: CreateIdealDocExample_noattach_docx_single_account_trial needs to be added to the Account Page or Layout |
5 | Get going | Create your own templates and queries and request a production token when ready |
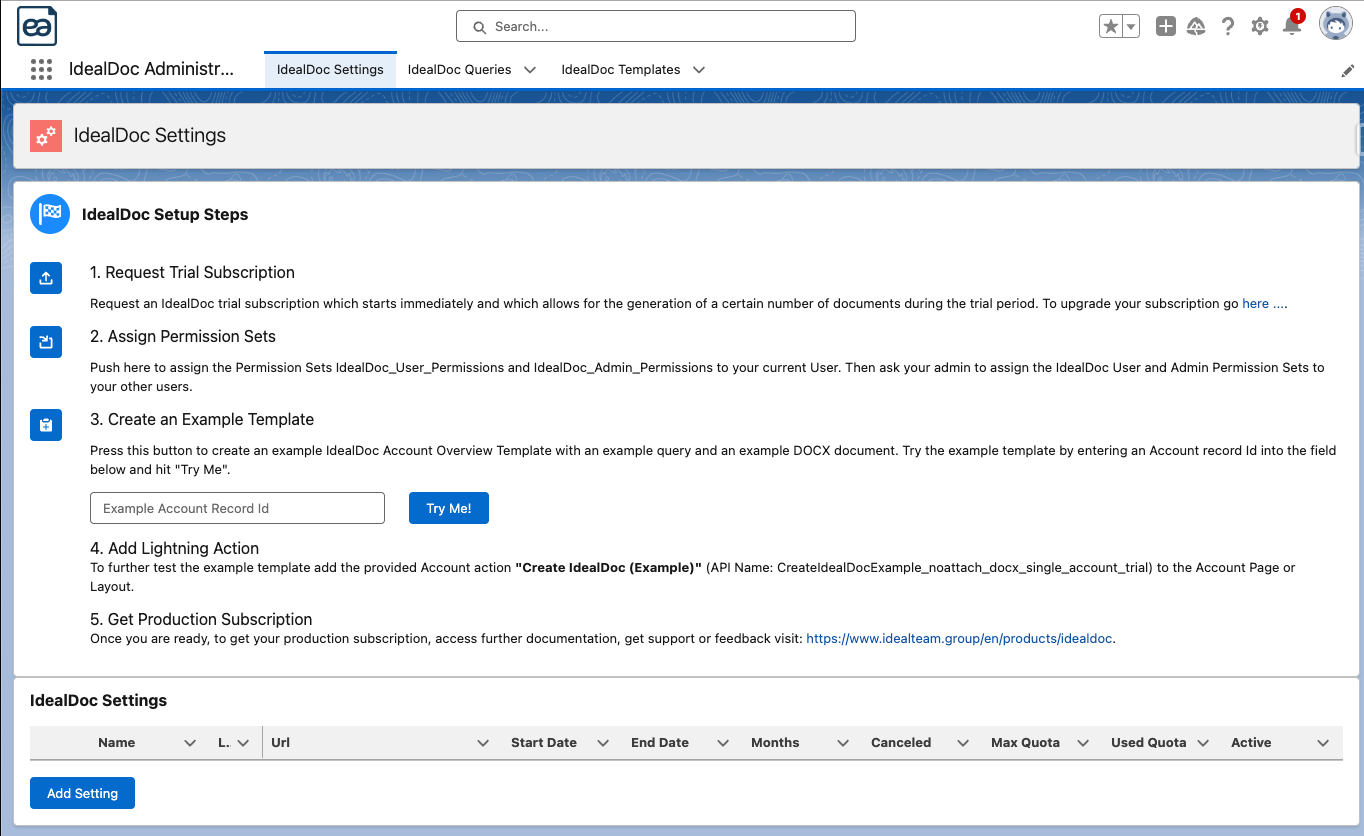
Request Trial Subscription
When clicking on the “1. Request Trial Subscription” button, a new trial subscription for this Salesforce instance gets created automatically which allows for the creation of 100 documents and is valid for 3 months.
Edit the Setting
After creating the trial subscription, a new entry appears in the IdealDoc Settings table. By clicking on the “edit” symbol the default configuration for this subscription can be edited.
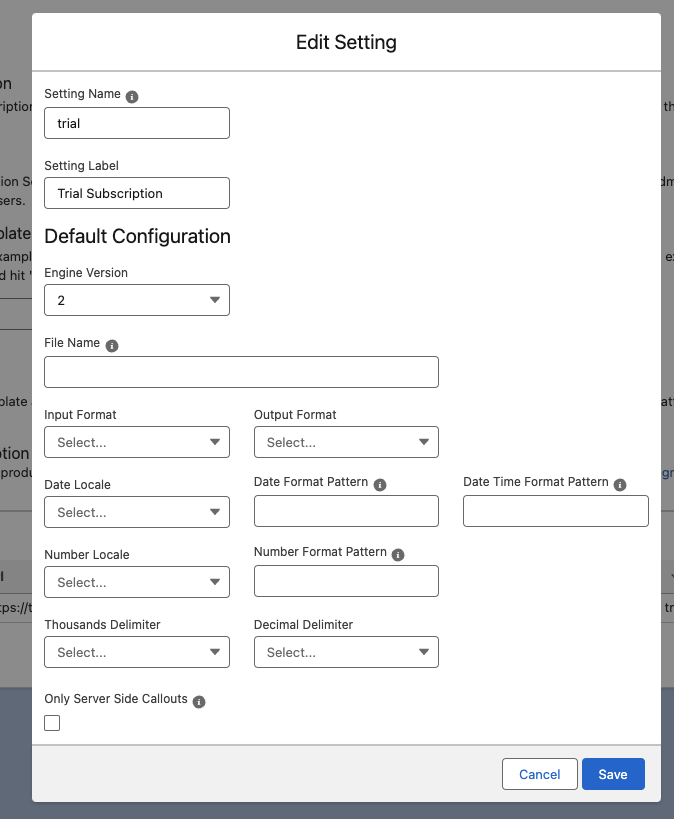
The “Setting Name” needs to be unique within all the settings and can only contain lowercase alphanumeric letters. The setting name will be used as setting identifier (key) when creating documents.
A setting is connected to an IdealDoc subscription through the defined end point url (test or prod) and the subscription token (not visible anymore after creation of the setting).
If a corresponding subscription is found for the (hidden) settings token and url, the subscription start and end date, the max and used quota gets displayed as well as the information whether the subscription renews automatically (canceled = false) or not (canceled = true).
All the attributes entered on this setting screen will be used as default value for each document created using this setting. Those values can be overridden on the template record (see Create your first Document).
The attribute “Only Server Side Callouts” exists only in this settings entry. If checked, IdealDoc will route all request for document creation and document status queries through the Salesforce server. This might be needed for environments where client side calls to the IdealDoc endpoint are not permitted by security restrictions.
Request a Production Token
Once you are ready to use IdealDoc in production, please contact us through our website: IdealDoc product page
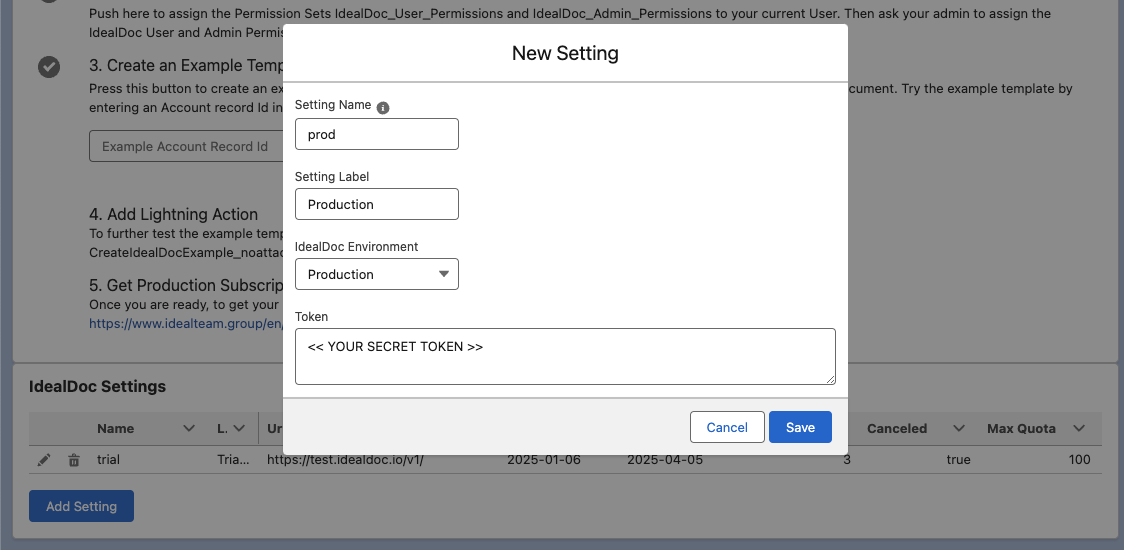
We will send you a production ready token which you can enter as a new setting:
Create an Example Template
When pushing the “Create an Example Template” button, a new IdealDoc Template record named “Example Account Overview Template” gets created together with a new IdealDoc Query record “Example Account Overview Query”. An example Word template file “account_overview_example_idealdoc_template.docx” is attached to the template record. The details of an IdealDoc template will be discussed in a later section. To get started it’s enough to understand that those records have been created.
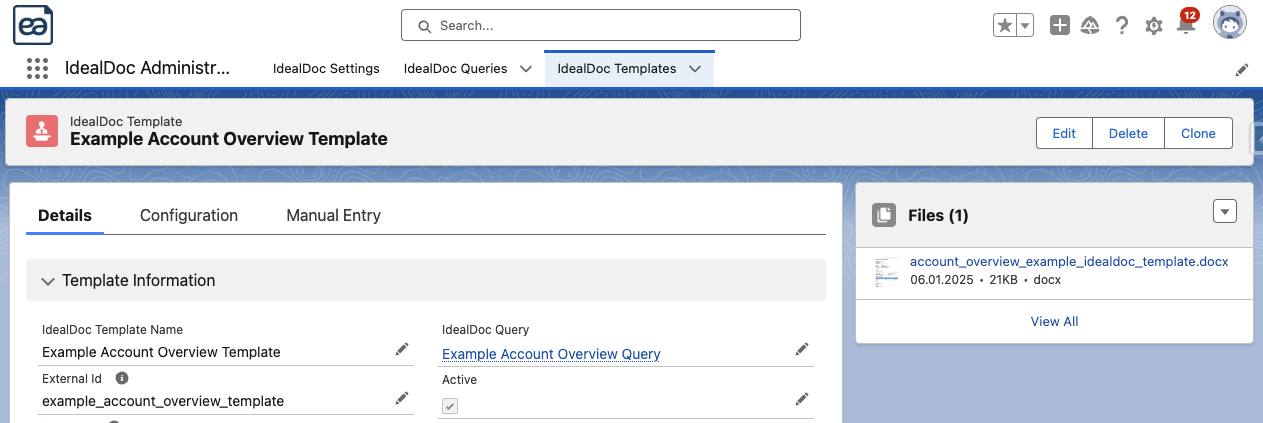
To create your first document you can copy (ctrl-C) the Id of an example Salesforce Account record and paste it into the example template record id field and click the “try me” button:
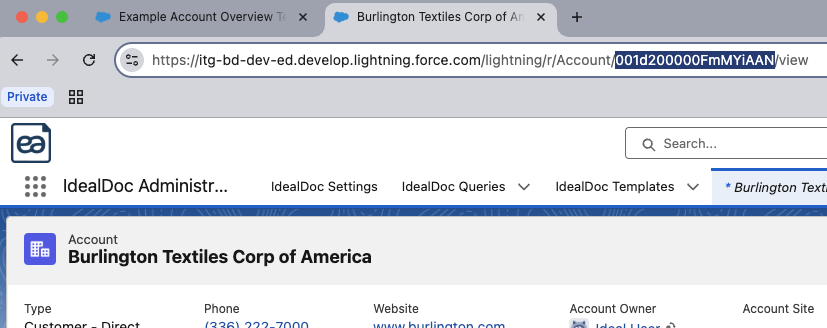
Copy (Ctrl-C) an example Salesforce Account Id

In the generic IdealDoc generation dialog select the newly created “Example Account Overview Template” and press “Next”.
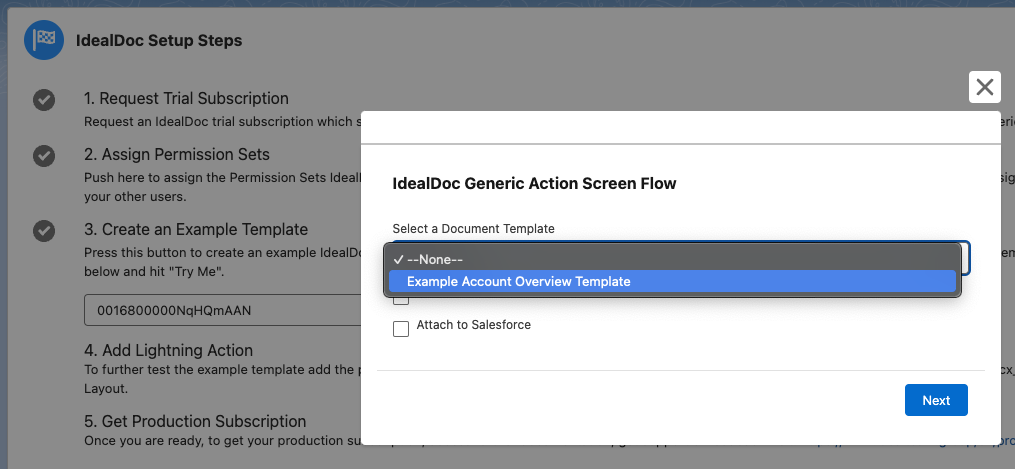
If everything was setup correctly your first IdealDoc document should have been created and downloaded. Congrats!
The following section explains how to allow the creation of the example account overview document for all the users directly from the Account.
Add the Lightning Action to the Record Page
As part of the IdealDoc package, there is an example Account action called “CreateIdealDocExample_noattach_docx_single_account_trial” which calls the “IdealDoc Generic Action Screen Flow”.
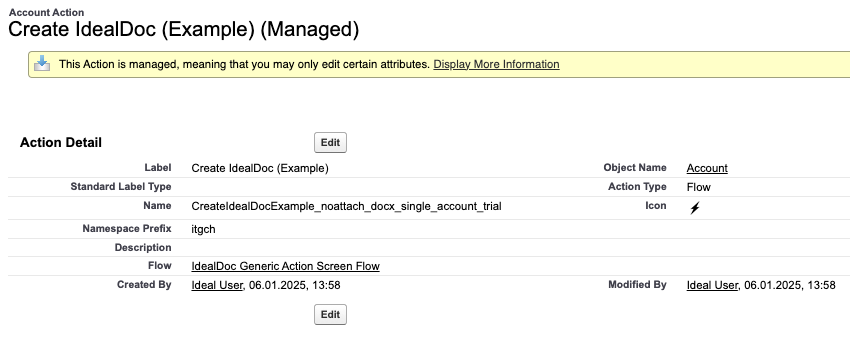
To test the creation of an IdealDoc document from an Account record this action can be added to the Account lightning record page. If dynamic actions are not enabled, the example action needs to be added to the “legacy” account layout.
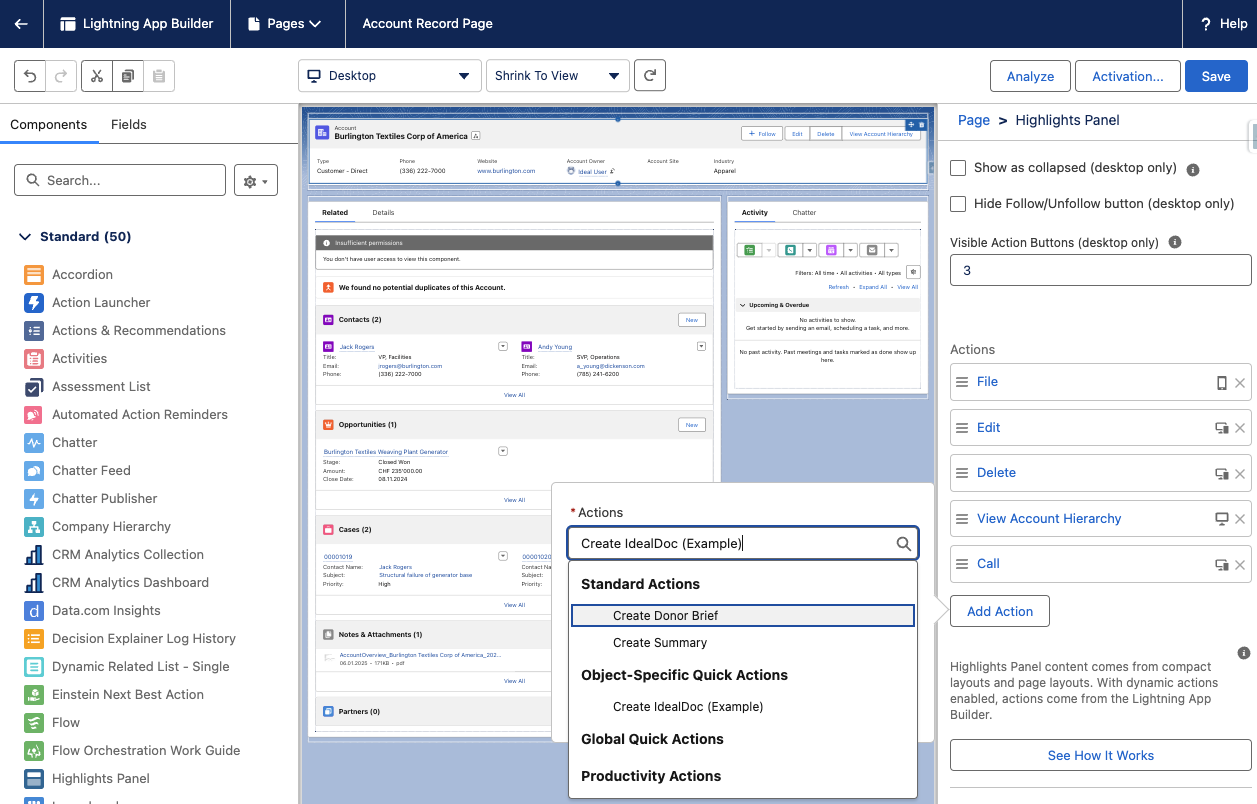
Once the action is added to the record page, the “Create IdealDoc (Example)” action button becomes visible on the Account record page:
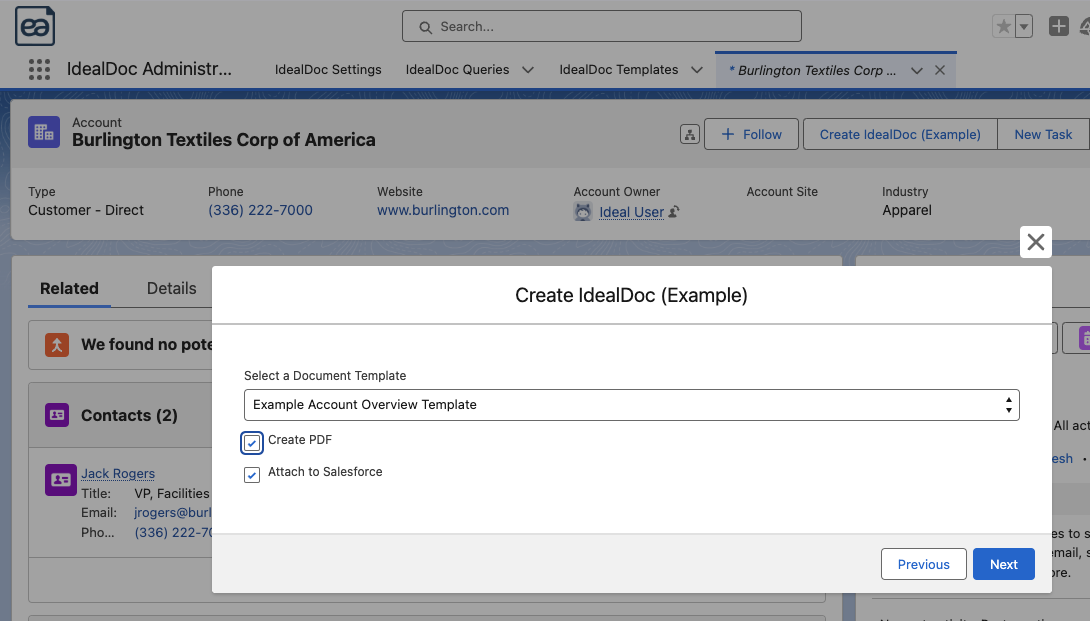
When clicking the “Next” button, the Account overview document will be generated depending on your selection either as Word or as PDF and either download or attached to the Account record as Salesforce file.
That was a quick intro to get you started. To learn how to create your own IdealDoc templates, continue with Create your first Document and the Word Template Reference v2.